 Oracle is a very popular database. Particularly for enterprise customers running on dedicated servers with lots of CPU and fast RAID setups.
This tutorial will guide you to install Oracle database server on CentOS Linux distro. Hopefully the steps are simple enough that even a technically minded non-DBA can get the database installed.
Oracle RDBMS can use quite a bit of server resources. So for reliability and best performance we recommend that Oracle is installed only on one of our dedicated servers (or VPS-on-dedicated server) setup (rather than on our shared VPS hosts).
If you get stuck or just need Oracle RDBMS installed, simply pop in a support ticket for our sysadmin team to do the install for you.
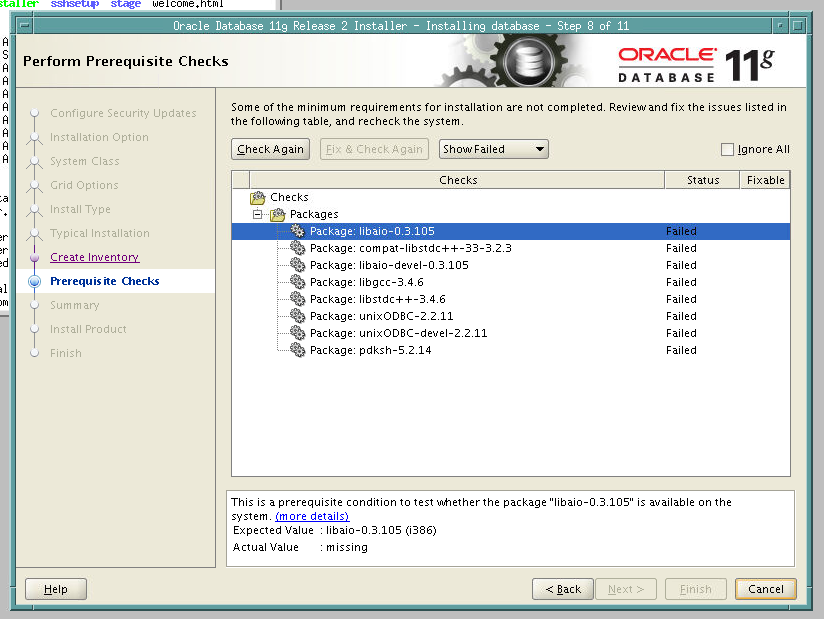
1) Install openmotif. So you will have a window manager and when a pop-up or dialog window appears during installation you will be able to switch to it or interact with it. Firefox is needed to download Oracle 11gR2 installer when you don’t have the cd media installer and the rest of the other packages are required part of the software requirements. Take note some packages that will be installed are a mix of i686 and x86_64 packages as noted in the manual under Package Requirements. You can also check a screenshot below of Prerequisite Checks – Step 8
yum -y install firefox xterm openmotif tigervnc-server xsetroot libaio.i686 glibc.i686 compat-libstdc++-33.i686 libstdc++.i686 libstdc++-devel.i686 libgcc.i686 elfutils-libelf-devel unixODBC.i686 unixODBC-devel.i686 unixODBC-devel.x86_64 mksh.x86_64 mksh.x86_64
2) Some people say Oracle RDBMS is quite difficult to install and configure especially on the Linux platform but that has changed a lot lately. On CentOS or RHEL based distros Oracle provide a yum based repository for convenience so difficult steps such as kernel parameter requirements and other pre-installation configuration tasks are all provided by the oracle yum repository. Now: download and install the yum config file.
cd /etc/yum.repos.d
wget http://public-yum.oracle.com/public-yum-ol6.repo
for more info visit these urls
- https://blogs.oracle.com/linux/entry/oracle_rdbms_server_11gr2_pre
- http://public-yum.oracle.com/
- https://oss.oracle.com/pipermail/el-errata/2012-March/002727.html
- http://www.oracle.com/technetwork/articles/servers-storage-admin/ginnydbinstallonlinux-488779.html
3) Install the oracle-rdbms-server-11gR2-preinstall package and if it prompts for the gnupg import key then accept it.
yum search oracle
yum install oracle-rdbms-server-11gR2-preinstall
After the oracle-rdbms-server-11gR2-preinstall package is installed it automatically creates an oracle account, run su to login as oracle user
su - oracle
#runvncserver and specify your vnc password if it prompts for it
vncserver
#then kill vncserver after xstartup file is generated in $HOME/.vnc and then customize it.
vncserver -kill :1
#twm is not installed by default so replace it with mwm that we had installed earlier from openmotif package.
grep -v twm .vnc/xstartup  > .vnc/xstartup.tmp; echo "mwm &" >> .vnc/xstartup.tmp; mv .vnc/xstartup.tmp .vnc/xstartup; chmod +x .vnc/xstartup
#run vncserver again.
vncserver
4) Connect to the vncserver from your desktop pc using vncviewer. For example if you’re on linux workstation then just run vncviewer. The authentication window will pop up and just type in the password that you specified from the first run of vncserver. After a successful login the vnc session window will appear then go to the xterm terminal window and run firefox and go to the oracle 11gR2 x64 database download page for Linux x86-64. The installer is zip compressed split in 2 files.
#take note to run this in your local to connect to the vncserver.
vncviewer
#At the vnc session on xterm terminal
firefox &
#after successfully downloading the installers
unzip linux.x64_11gR2_database_1of2.zip
unzip linux.x64_11gR2_database_2of2.zip
cd database
./runInstaller
Follow the rest of the screen instructions and from steps 1-7 it’s very user friendly.
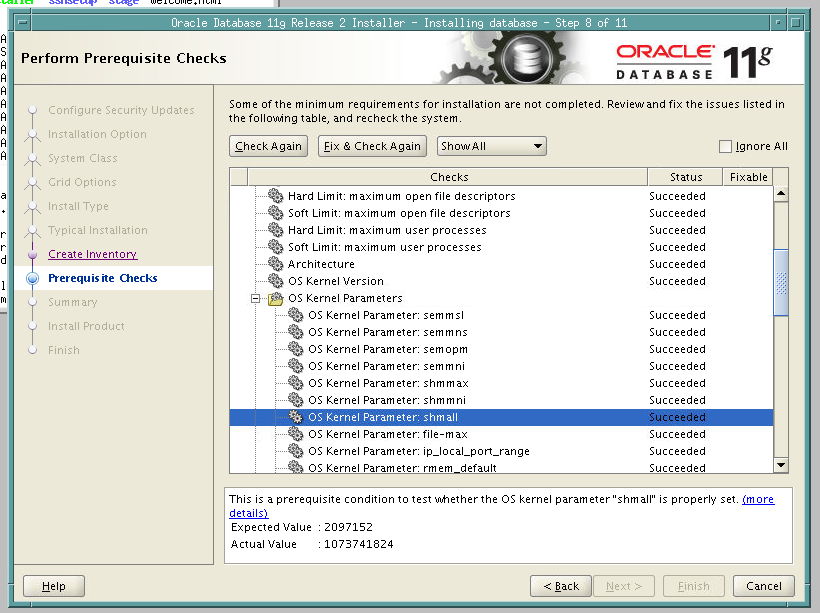
When the installer is at Step 8 – Prerequisite Checks notice that it only showed some few packages missing or status failed but this is fine. Because we had already installed these packages from the first yum command in the previous step except that the versions are different or newer than the required version packages but this is acceptable. If you want to see the list of checks that succeeded, you can choose from the drop down list “Show All” and it will return the long lists of all checks that has a status Succeeded especially on the OS Kernel Parameters.
Without the package oracle-rdbms-server-11gR2-preinstall that we installed from the previous step, these checks could have been done manually and it’s very tedious. :)
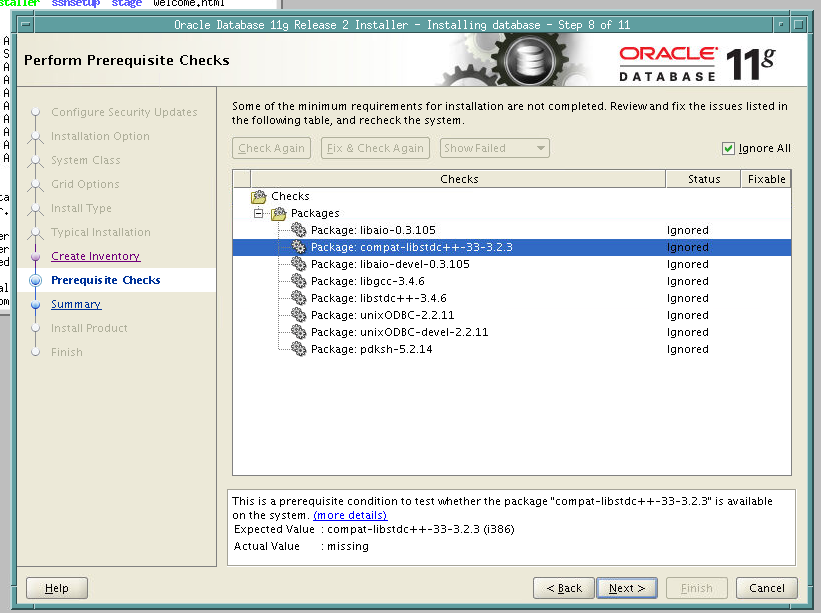
Now you may continue the installation process, just click “Ignore All” then Next then Finish. And grab some coffee or popcorn or beer while waiting for the installation to complete. :)
After the database installation and configuration a pop-up window will appear with instruction to run two shell scripts as root user. Go back to the root terminal window (not the xterm window) and run the commands specified in the instruction as root user.
#this is the full path in my server
/u01/app/oracle/product/11.2.0/dbhome_1/root.sh
/u01/app/oraInventory/orainstRoot.sh
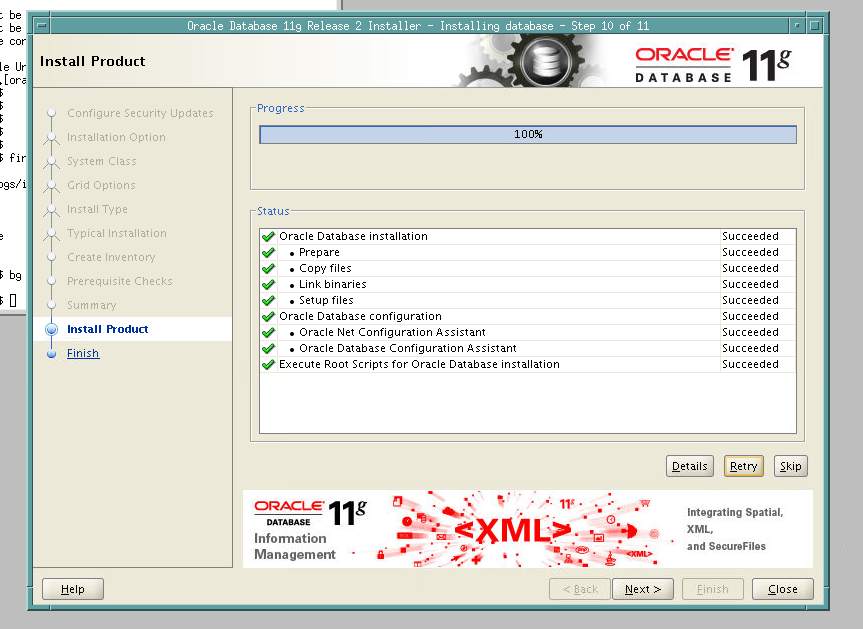
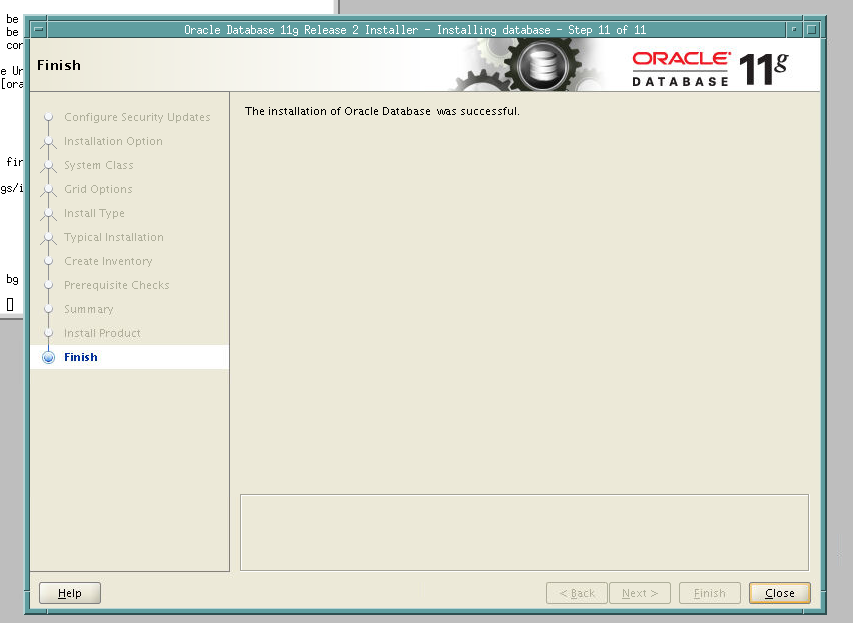
After executing the root scripts go back to the VNC Session window and click OK, the installer returns to the main window at step 10 then click Next then at page 11 click Finish.
That’s it! congratulations! Good luck on your way to the path of DBA guru. :)


One response to “Installing Oracle RDBMS Server”
Under centos6 some of the following things may be useful…
* modify the /dev/shm mount in /etc/fstab with type shmfs instead of type none and remount that
* added a /etc/hosts entry for 127.0.0.1 oralinux
* run “dbus-uuidgen > /var/lib/dbus/machine-id” so firefox will start under vnc