 WordPress is a very popular blogging platform. We have a number of posts on how to set it up and keep it up to date on here already. In general those methods focus on deploying under the Apache web server.
Recently we were pointed to a scripted method developed by they guys at rtcamp.com. They have a bunch of python scripts that have developed into a pretty neat tool-set for fast easy WordPress setup under Nginx.
You can use an existing mysql database service or let the tool install the latest version of the high performance mariadb database.
EasyEngine also configures email so you can get all those useful notices from your new wordpress install. And sets up basic security to help you get started with confidence.
It includes change control using git, which should be very handy for developers. And implements a built in backup function (ee site backup) and the ability to update wordpress from the command line.
Before you start
* have a working dns name to use for this, or be prepared to use a local /etc/hosts trick so you can test the site after the install is done.
* if you already have mysql and apache installed you may wish to remove them first to avoid package conflicts. Consider this if you already have sites on your server you want to keep running.
Here is a summary of the commands I ran. It will take about 10-15 minutes to complete.
wget -qO ee rt.cx/ee
bash ee
ee stack install --mysql --php --nginx
ee site create example.com --wpfc
The install log below is from a clean Debian 8 (jessie) VPS. Notice the initial login details are provided for you during the setup process (obscured).
root@debian:~# bash ee
 Executing apt-get update, please wait...
 Creating EasyEngine log directory, please wait...
 Installing required packages, please wait...
 ...
 Cloning EasyEngine, please wait...
 Installing EasyEngine, please wait...
 EasyEngine (ee) required your name & email address to track changes you made under the Git version control
 EasyEngine (ee) will be able to send you daily reports & alerts in upcoming version
 EasyEngine (ee) will NEVER send your information across
 Enter your name: xxxxxxx
 Enter your email: xxxxxxxxxxxxxxxxxxxx
 running install
 ...
 Using /usr/lib/python3/dist-packages
 Finished processing dependencies for ee==3.3.13
 Synchronizing ee database, please wait...

 For EasyEngine (ee) auto completion, run the following command
  source /etc/bash_completion.d/ee_auto.rc
 EasyEngine (ee) installed/updated successfully
 EasyEngine (ee) help: http://docs.rtcamp.com/easyengine/

root@debian:~# ee stack install --mysql --php --nginx
Adding repository for MySQL, please wait...
Adding repository for NGINX, please wait...
Adding repository for PHP, please wait...
Updating apt-cache, please wait...
Installing packages, please wait...
Downloading MySQLTuner [Done]
Reload : nginx [OK]
Restart : php5-fpm [OK]
Reload : mysql [OK]
HTTP Auth User Name: xxxxxxxx
HTTP Auth Password : xxxxxx
Successfully installed packages
root@debian:~# ee site create example.com --wpfc
Running pre-update checks, please wait...
Setting up NGINX configuration [Done]
Setting up webroot [Done]
Downloading WordPress [Done]
Setting up database [Done]
Installing plugin nginx-helper, please wait...
Setting plugin nginx-helper, please wait...
Installing plugin w3-total-cache, please wait...
Reload : nginx [OK]
WordPress admin user : xxxxxxxxxx
WordPress admin user password : xxxxxxxxxxxxxxxx
Configure W3TC: http://example.com/wp-admin/admin.php?page=w3tc_general
Page Cache: Disable
Database Cache: Memcached
Object Cache: Memcached
Browser Cache: Disable
Successfully created site http://example.com
By default the tool puts site files for the site live under /var/www/.
root@debian:~# ls /var/www
22222 example.com html webalizer
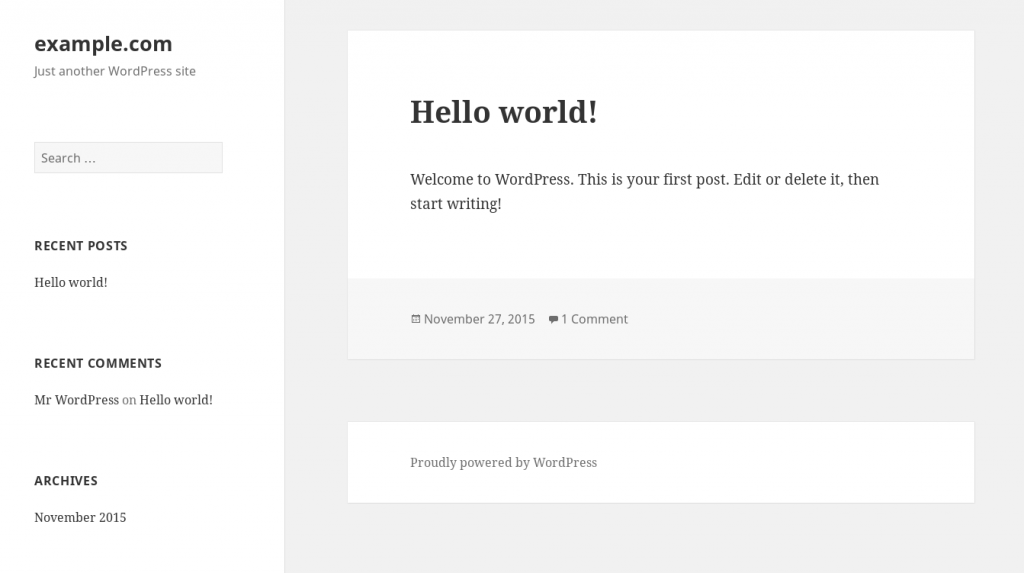
Presto, the new wordpress blog is alive! If everything has gone well, you should also have an introduction email from wordpress at the address you gave during the install.
The ‘ee’ tool has a lot of different install options, and is powerful enough that you could use it exclusively to manage all your sites on a single server. More details are on the documentation page.
Have fun tinkering!

